Frequently Asked Questions
-
Our lifts and screens come complete with a worldwide power supply.
Mains voltage input from 100v to 240v @ 50-60Hz.
-
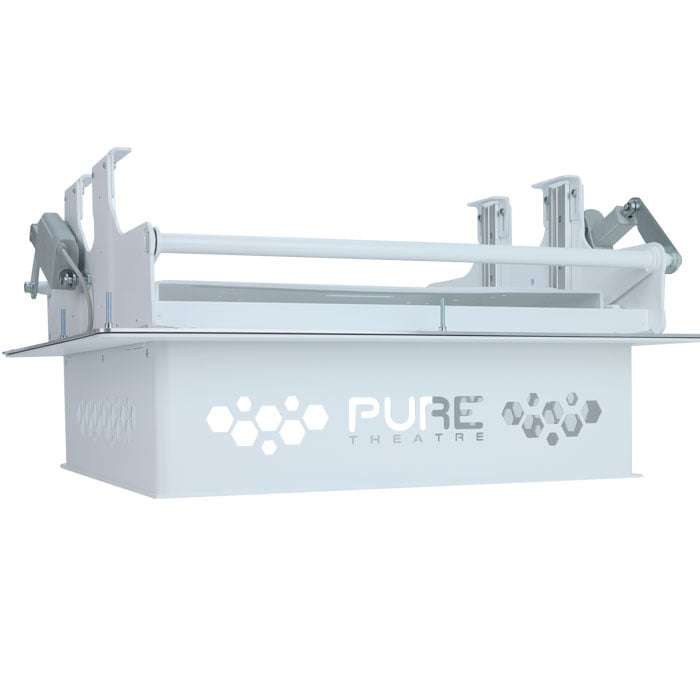
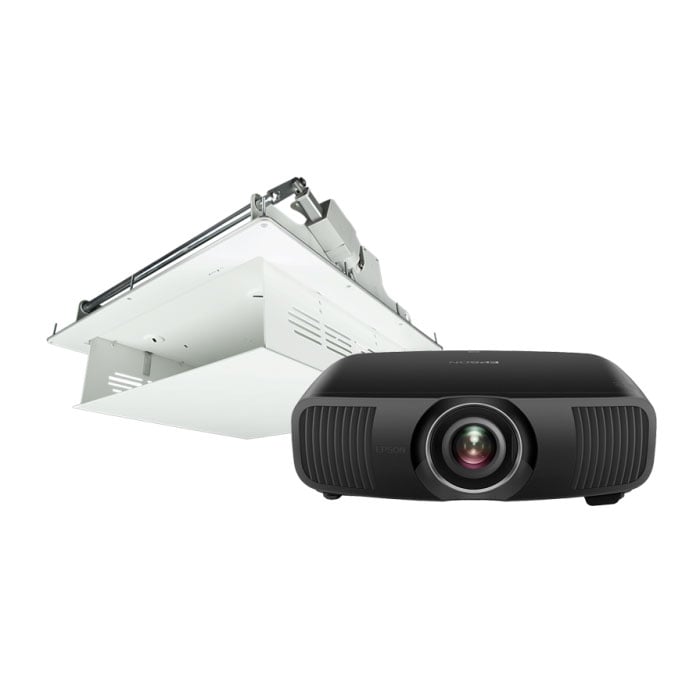
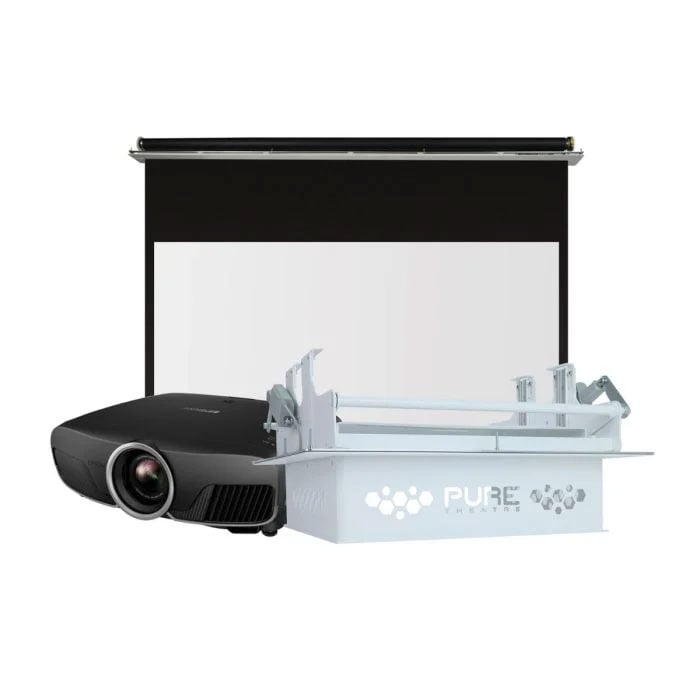
A projector lift is a mechanism which allows your projector to recess into the ceiling. It lowers at the touch of a button (or voice command) to reveal your projector and allows for a completely concealed home cinema option.
-
With your projector lift, you will get an IR remote control, power supply with mains cable, RS232 cable, 10 metre trigger cable and user manual.
-
Yes! Our lifts and screens work with all known control systems
-
Yes! Emulsion paint can be used on the projector lifts to match with your decor.
We do also offer custom colours for our projector lifts for an additional cost. You can add these to your order by using our custom colour powder coat finish
-
PERFORMING FACTORY RESET:
STEP 1. Press PROGRAMMING button for 20 seconds until
SYSTEM STATUS LED & IR STATUS LED illuminate RED.
STEP 2. Release PROGRAMMING button.
SYSTEM STATUS LED & IR STATUS LED will flash RED 3 times.
STEP 3. The screen will then RESTART.
The factory reset is now complete.
-
The projector lift can learn commands from the majority of domestic remote controls, allowing your TV or projector remote to control the lift.
Programming a new remote will NOT disable the PureTheatre™ IR Remote.
PROGRAMMING IR REMOTE CONTROL:
STEP 1. Press programming button until SYSTEM STATUS LED & IR STATUS LED illuminate. (Approx 2 sec)
STEP 2. Then only SYSTEM LED illuminates. (Watch LEDS when programming as IR is very fast.)
STEP 3. Press desired UP button briefly on the domestic remote control.
The IR LED flashes GREEN for learning then RED for storing the new button.
STEP 4. Press UP button again briefly on domestic remote control.
The IR LED flashes GREEN for learning then RED for storing the new button.
STEP 5. Now press desired STOP button briefly on the domestic remote control.
The IR LED flashes GREEN for learning then RED for storing the new button.
STEP 6. Press STOP button again briefly on domestic remote control.
The IR LED flashes GREEN for learning then RED for storing the new button.
STEP 7. Now press desired DOWN button briefly on the domestic remote control.
The IR LED flashes GREEN for learning then RED for storing the new button.
STEP 7. Press DOWN button again briefly on domestic remote control.
The IR LED flashes to confirm success then extinguishes.
NOTE. When LEDS go out your domestic IR remote control is ready to use.
-
A detailed description of what wiring you will need can be found here:
-
Yes!. An emulsion paint can be used on the screens and lifts to match with your decor